


Are you as obsessed with campaign three as I am? Wanna cosplay Orym? I got you! Let’s go!
First, supplies:
- EVA foam (I used 4 mm and 2 mm from Michaels)
- Heat gun
- Rectangle buckle ring
- Rivets (or googly eyes)
- Hot glue
- Contact cement
- Paint
- Velcro
- Buckles
First, create a duct tape pattern. I made mine on my dress form since I plan on wearing a binder with this cosplay. But you can make it on yourself if you have help. Cut out and try on to check fit.

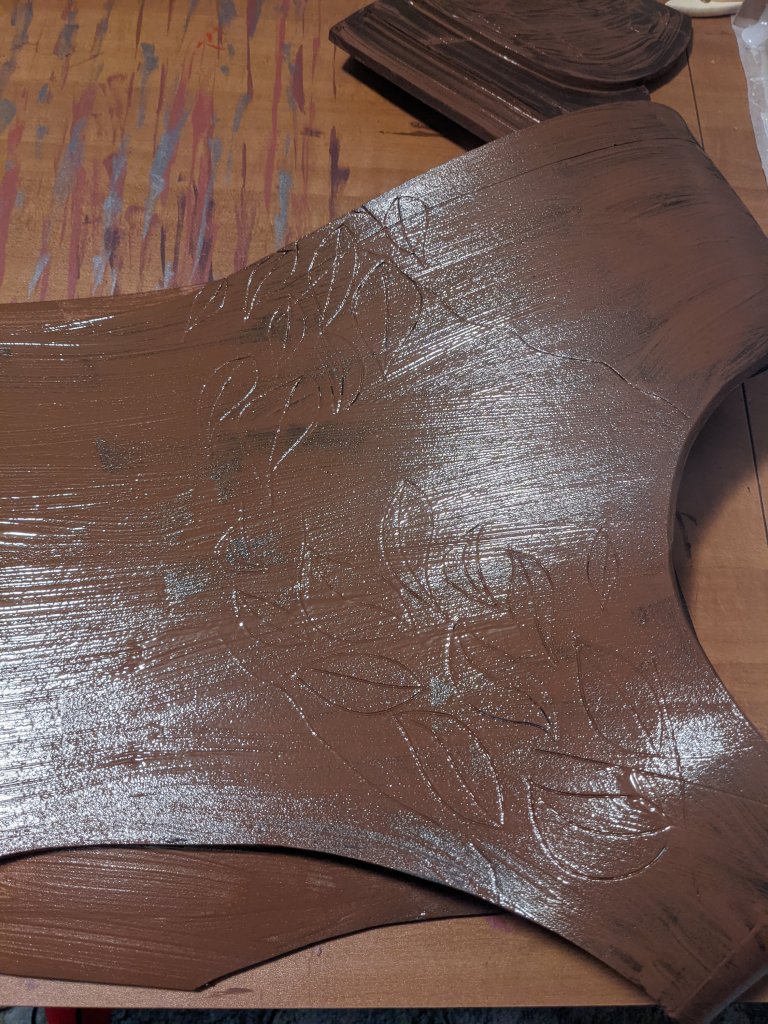
Trace onto foam, cut out, and glue together using contact cement. I like to heat shape the pieces prior to gluing together to help overall shape. It also keeps the seams a little cleaner. Add your details. I used an exacto knife to cut the details, then went over it with a heat gun to expand the cuts.

Repeat for the shoulder piece. Do a few coats of plastidip to seal the foam.


Then paint your base brown coat. I like to base paint, then add the straps. That way I only have to do touch up painting and can keep the metal hardware clean. But it’s up to you how you wish to do it.
Create your straps. I cut 1″ strips of 2mm foam to created the straps. Plastidip and paint.
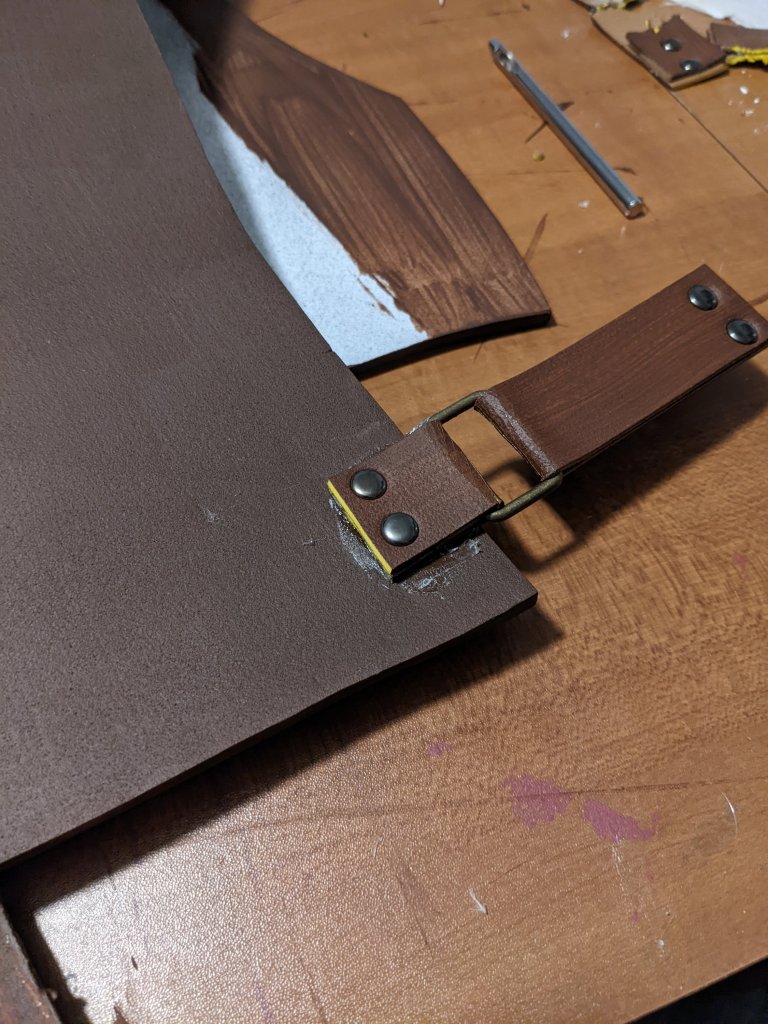
Create a short strap attached to a rectangle buckle ring for the shoulder piece, and a longer one for the strap that hangs down and wraps around the back. I hotglued these but contact cement would also work.

Add rivets and attach to armor front. The rivets are only necessary for the part that connects to the armor front. If you don’t have rivets, you can take them using googly eyes and paint.
Add Velcro to strap that will attach to shoulder piece.

I had problems keeping the curve on the shoulder piece, so I glued a piece of foam onto the underside while I held it curved to assist. That worked for me.

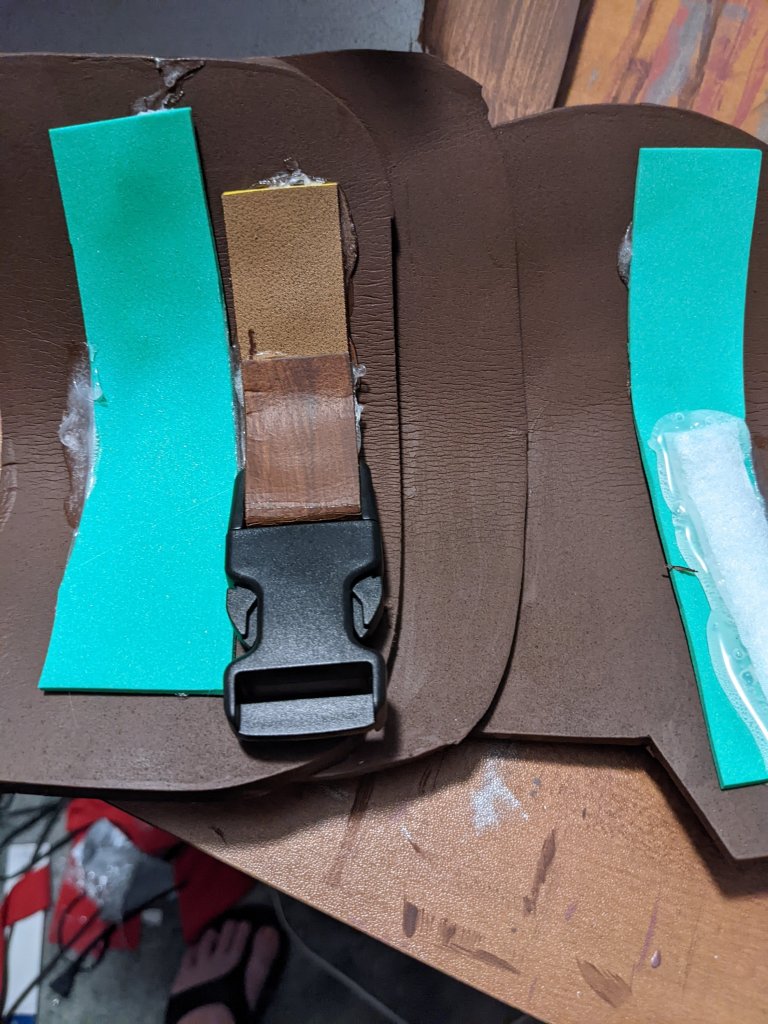
Add Velcro to shoulder piece so it can attach to armor front. It also has an arm strap. I attached the foam strap to a buckle and glued it on the shoulder piece, so the buckle is completely hidden when worn.
Add straps to other side and add buckle. This is a nonadjustable strap. You are welcome to change this to an adjustable one if that fits better.
Attach shoulder piece to back of armor using a strap similar to the front, only glued to the shoulder piece and the armor so it stays in place. This will attach your shoulder piece to the back of the armor, and then it velcro’s closed in the front.

To attach armor on the front I went with buckles (hidden). I thought that would work, but unfortunately, I had to add Velcro to keep it down. You could likely create fake straps, then use velcro only.


Attach bottom strap. This will wrap around to the back and attach to the opposite shoulder via Velcro.

Create the thick strap for his shoulder. I just held it up and eyeballed a measurement, then cut it out of foam. Plastidip, paint. Cut holes in each end to thread string through.

I used leather cording I had leftover from Mollymauk’s boots. Thread through and attach with hot glue.

Hot glue to shoulder. Then add velcro at the bottom to attach long strap from front.


Do touch up paint, and detail paint (green). I used a sponge to apply the green paint to give it a more moss like appearance. You may also do some dry brushing to bring out the details more.


And we’re finished! This armor was actually incredibly simple and turned out so cute! I hope this tutorial helped! If you have any questions, feel free to leave a comment here or message me on IG or FB. And until next time, keep cosplaying!
